Following on from my last post - at Sian's suggestion, I have added a postscript to the
virtual sketchbook for Glimpsing the Storm explaining how I used a telescopic pole to make it freestanding - you never know when it may be useful.
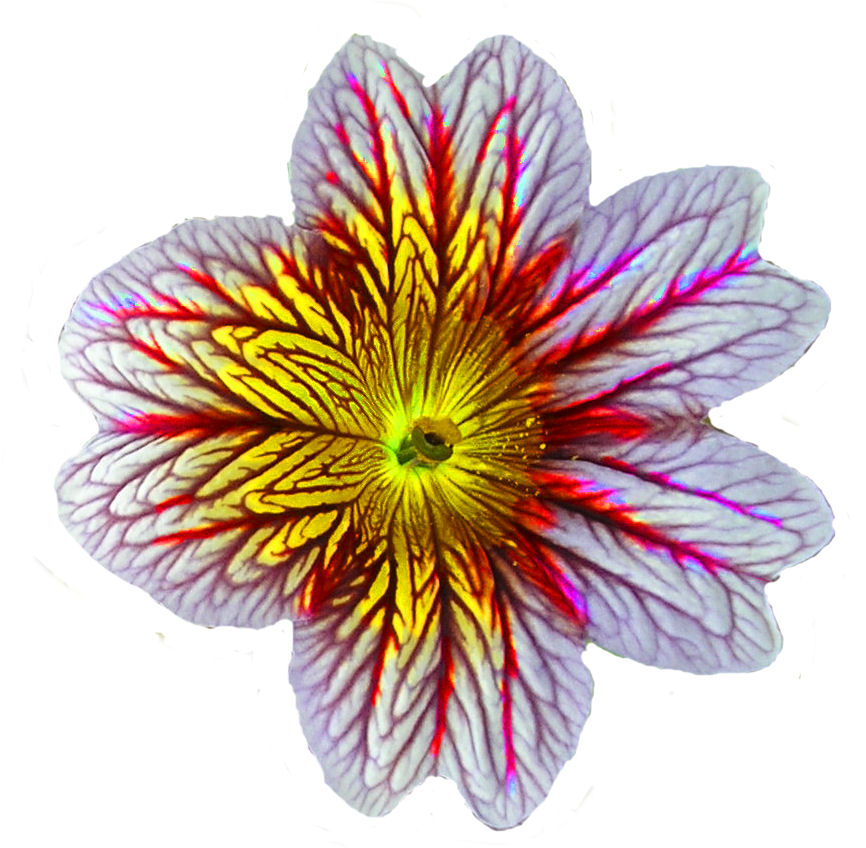
For chapter 3, I am exploring ideas that could be turned into 'slips' for embroidery, based on flowers. I did sort of start doing this in the summer and sketched a couple of flowers but now we are in November, I have turned to my photo collections for inspiration. I found I had rather a lot of close-ups of flowers, so I chose three to work with; two are from a visit to the National Botanical Gardens of Wales (I don't know what the flowers are - can anyone enlighten me?) and the third is a rose from our garden.
 |
| Source photo 1 |
 |
| Source Photo 2 |
 |
| Source photo 3 |
Then I played in Paint Shop Pro - the first step was to isolate 3 of the flowers by using lassoo selection and pasting as a new image, which has a transparent background.
 |
| Flower head 1 |
 |
| Flower head 2 |
 |
| Flower head 3 |
|
Then I created the following images
1. Flower head 1 changed to greyscale and applied black pencil effect. Suggests a padded or quilted piece.
 |
| Image 1 |
|
2. Flower head 1 with rough leather texture effect
 |
| Image 2 |
3. Image 2 layered on top of a copy of flower head 1 with the opacity of the top layer reduced to 44%. I used the eraser to rub away parts of the centre of the top layer to reveal the colours beneath and applied the rough leather texture again.
 |
| Image 3 |
|
|
4.Flower head 3 with the details softened by the smudge brush.
 |
| Image 4 |
5. Flower head 3 with the hue brush applied
 |
| Image 5 |
|
|
|
6.Flower head 3 with saturation brush
 |
| Image 6 |
7. Three copies of flower head 1 layered up slightly misaligned and opacity reduced between layers to 50%. I tidied up the image by using the eraser and the clone brush to remove the extra stalks and fill the gap with nearby colours, and then ran the soften brush around the edge. This image is less harsh than the original photo and suggests silk shading or layers of sheers. Or the softness could be translated into felt.
 |
| Image7 |
8. I wanted to try using the shape of flower head one as a template so I used it as a mask layer on source photo 3. I had an idea of it being crammed full of petals or flowers - this trial doesn't look right so I may come back to it, I may be able to play with the scale.
 |
| Image 8 |
9. I printed out copies of all these images to make up sketchbook pages and when I was cutting them out, I put one on a background and took a photo. The background is a used piece of TAP (I had been experimenting with transferring an image onto a collage of fabric scraps but the printer ran out of coloured ink and produced a peculiar colour. I went ahead anyway to see how the fabrics took the transfer and it left behind a lovely grungy texured image on the paper).
 |
| Image 9 |
10. I scanned in the sheet of TAP, put image 7 on top and cropped to a square.
 |
| Image 10 |
11. I pulled out an image from my module 1 study of pylons which was a scan of a paper rubbing and used it as a background. On top, I used flower head 3 which I had manipulated as for image 7.
 |
| Image 11 |


3 comments:
Fascinating photos, Jane. You obviously know your way around photoshop! Look forward to seeing where you go with this.
Wonderful images Jane. I've seen that flower and should know it's name! I'm intrigued by the lovely effects that can be achieved with Photoshop but am still getting to know my laptop!!
This is such an organized process (unlike mine).I, too, look forward to seeing what evolves with this.
~Faith
Needle & Fabric Art
Sew Many Blessings
airycat at airynothing dot net
Post a Comment