Showing posts with label module 4 chapter 3. Show all posts

Sunday, December 05, 2010

Module 4 Chapter 3 - Part 2

More playing with flower images in Paint Shop Pro, looking at patterns, because I enjoy it -

1. Using the kaleidoscope effect on flower head  - 10 petals, all other settings 0 and edge mode set at repeat.
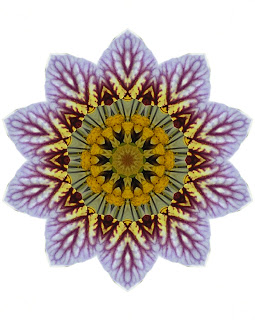
Image 1
2.  Kaleidoscope effect with different settings - horizontal offset 100%, vertical offset -63%, angle 152, scale -4, 7 petals, radial suction 39.
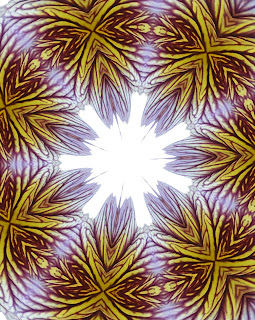
Image 2


3. Kaleidoscope effect again applied to the saturated image of flower head 3 (see last post)  with settings - 6 petals, angle 274, scale -31, edge mode set at wrap.
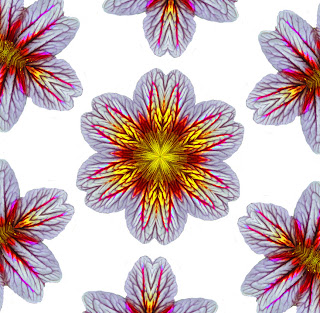
Image 3

4. Pattern effect - horizontal offset 68%, vertical offset 62%, rotation 90, 3 columns and 3 rows.
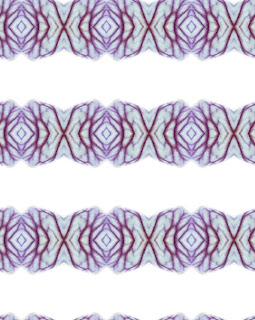
Image 4
 5. Flower head 1 and feedback effect.  I used the randomiser which came up with these settings - opacity 85%, horizontal 28, intensity 95, vertical -93, elliptical.  I like the build up of overlapping petals in this one and the repeated shapes - could be the start of an idea for a 3d piece?  I see it as a long trailing cloak, perhaps a stage costume. It could either be very stiff and heavy with the layers standing apart (think Sydney Opera House) for a haughty queen  or soft and light for a gentle character. Not so keen on the colour (too bland) so I would reintroduce the gold/yellow shades.
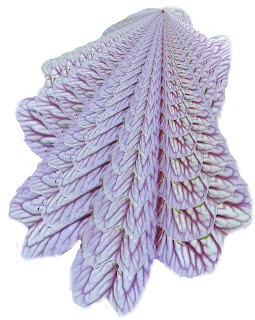
Image 5


6. Image 5 repeated, flipped, layered.  Seems to have turned into bird's wings.
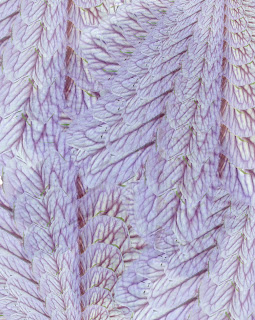
Image 6
 I mentioned before that I had done a little bit of drawing over the summer - image 7 shows the sketches.  On the right are a rose in fine black pen and red marker pen; bottom right corner a gladioli (gladiolus?) in soluble pencils; left side using soluble pencils to explore shapes and colours from my flower photos; top left drawing the shapes from image 5.
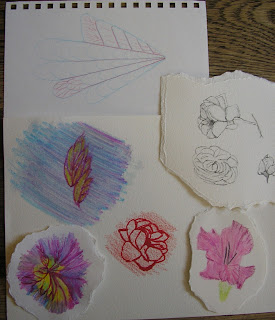
Image 7
 The next few photos are different drawings from the photos.   I have included a 2p coin (1") for scale as they are different sizes.

  
Image 8
 Image 8 is soft pastels, image 9 is Markal sticks.  I like the energy in this one, although it looks more like a dahlia than the original flower.
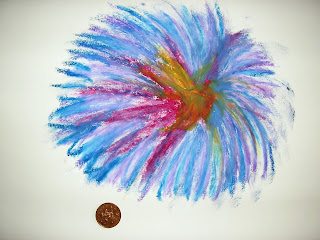
Image 9
Image 10  - soft pastels on black paper.
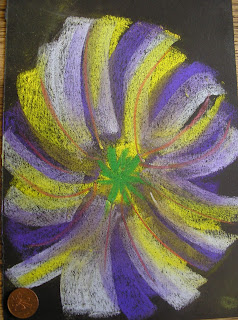
Image 10      
Next come the decorated papers, these are all A3 sheets. First is just stripes of colours.

Image 11
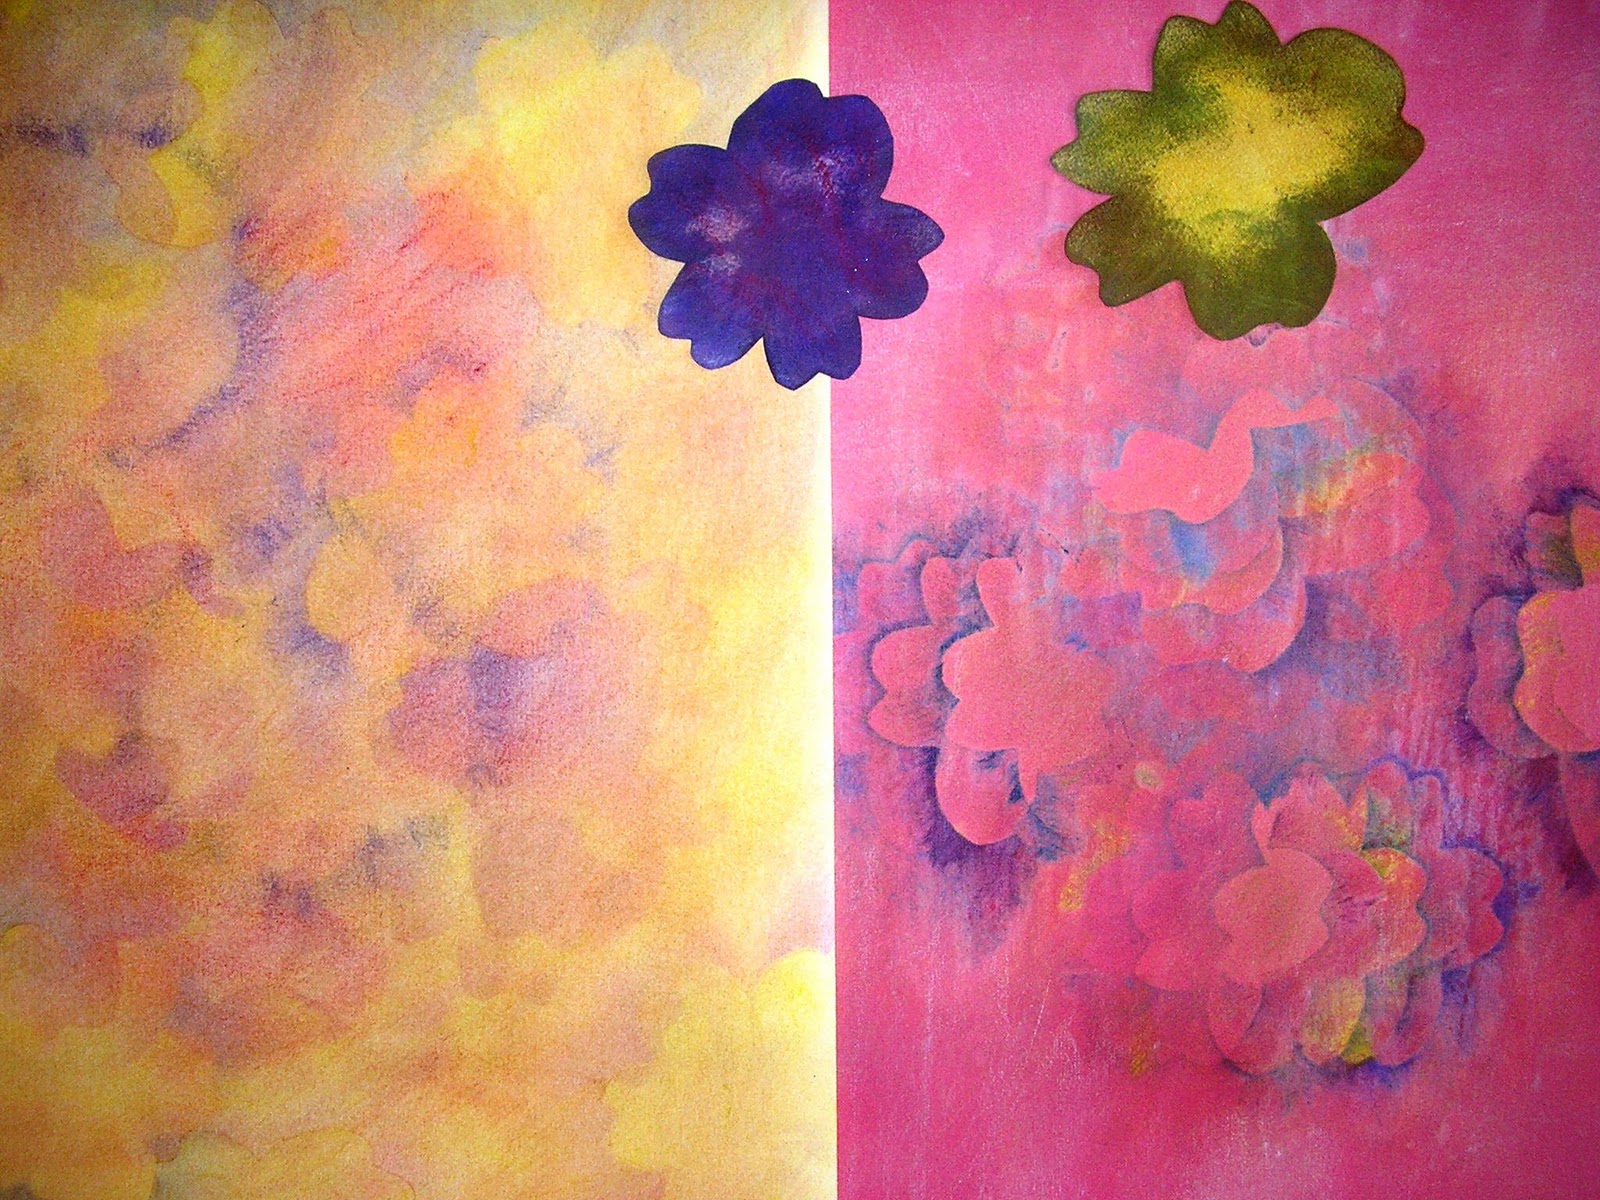
 Next I cut out card templates of the flower head and used it to rub off soft pastels (left) and Markal sticks (right). I washed the right hand one with ink but didn't like the colour, so I added pastels on top to tone it down.  You can see the templates on top of the papers.
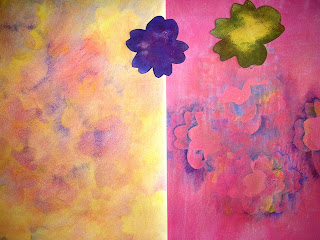
Image 12
 Next, I made a string block in the shape of the petals and used it for two more papers. Image 13 is a rubbing with Markal sticks.
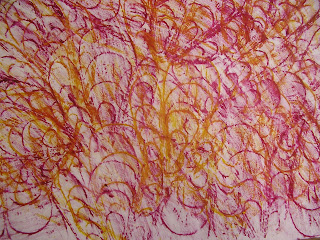
Image 13
Image 14 is the block pressed into a layer of gesso and coloured with soft pastels and also shows the block.
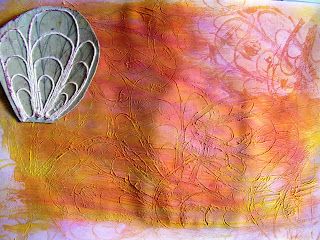
Image 14
And finally, I couldn't resist trying this - a pylon photo repainted with image 14, more fun than grey.
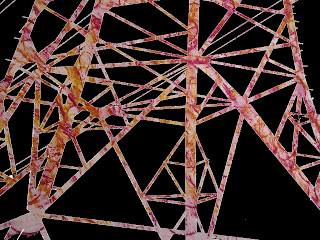
Image 15

Friday, November 19, 2010

Module 4 Chapter 3 - part 1


Following on from my last post - at Sian's suggestion, I have added a postscript to the virtual sketchbook for Glimpsing the Storm explaining how I used a telescopic pole to make it freestanding - you never know when it may be useful.

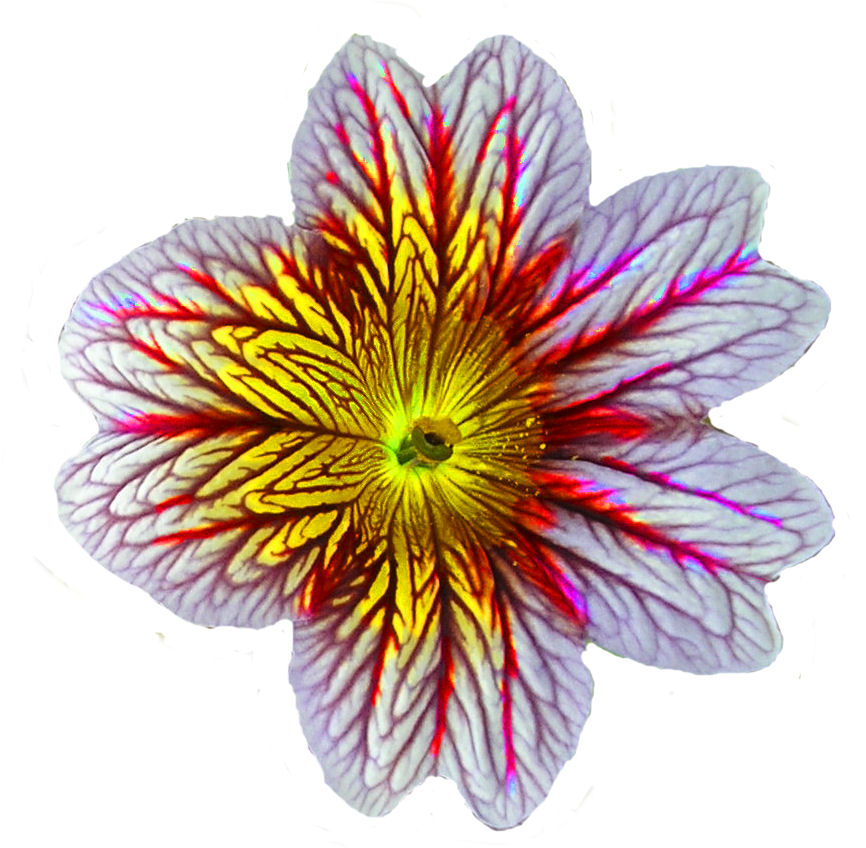
For chapter 3, I am exploring ideas that could be turned into 'slips' for embroidery, based on flowers.  I did sort of start doing this in the summer and sketched a couple of flowers but now we are in November, I have turned to my photo collections for inspiration.  I found I had rather a lot of close-ups of flowers, so I chose three to work with; two are from a visit to the National Botanical Gardens of Wales (I don't know what the flowers are - can anyone enlighten me?) and the third is a rose from our garden.

Source photo 1

Source Photo 2

Source photo 3
 Then I played in Paint Shop Pro - the first step was to isolate 3 of the flowers by using lassoo selection and pasting as a new image, which has a transparent background. 


Flower head 1

Flower head 2

Flower head 3


Then I created the following images

1. Flower head 1 changed to greyscale and applied black pencil effect.  Suggests a padded or quilted piece.
Image 1
2. Flower head 1 with rough leather texture effect

Image 2
3. Image 2 layered on top of a copy of flower head 1 with the opacity of the top layer reduced to 44%.  I used the eraser to rub away parts of the centre of the top layer to reveal the colours beneath and applied the rough leather texture again. 
Image 3

4.Flower head 3 with the details softened by the smudge brush.

Image 4
 5. Flower head 3 with the hue brush applied
Image 5


 6.Flower head 3 with saturation brush
Image 6
7. Three copies of flower head 1 layered up slightly misaligned and opacity reduced between layers to 50%. I tidied up the image by using the eraser and the clone brush to remove the extra stalks and  fill the gap with nearby colours, and then ran the soften brush around the edge. This image is less harsh than the original photo and suggests silk shading or layers of sheers.  Or the softness could be translated into felt.
Image7
8. I wanted to try using the shape of flower head one as a template so I used it as a mask layer on source photo 3.  I had an idea of it being crammed full of petals or flowers - this trial doesn't look right so I may come back to it, I may be able to play with the scale.
Image 8
9. I printed out copies of all these images to make up sketchbook pages and when I was cutting them out, I put one on a background and took a  photo.  The background is a used piece of TAP (I had been experimenting with transferring an image onto a collage of fabric scraps but the printer ran out of coloured ink and produced a peculiar colour.  I went ahead anyway to see how the fabrics took the transfer and it left behind a lovely grungy texured image on the paper).

Image 9
10. I scanned in the sheet of TAP, put image 7 on top and cropped to a square.

Image 10
11. I pulled out an image from my module 1 study of pylons which was a scan of a paper rubbing and used it as a background.  On top, I used flower head 3 which I had manipulated as for image 7.

Image 11